
You record a 60-second tip in one take. Then the work starts. You time the captions, build a graphic for the one number that matters and move the whole thing when you realize it covers your face. If that happens three times a week, editing can become the reason your best ideas stay in the camera roll.
To edit a short video with AI, start with one clear idea in a vertical clip. Upload it, choose how much motion you want, check the transcript, then review the rendered video on your phone before you publish. With TubeWizz Motion Edit, the AI uses the words you say to plan where a chart, a list, an animated phrase or a camera move will help the viewer follow the story. See how Motion Edit works.
What AI can take off your editing checklist
The most time-consuming part of motion design often starts before anything moves. You have to decide which line deserves a graphic, what form that graphic should take and where it can fit in a vertical frame. Then you have to build it and time it to the sentence. That sequence repeats for every moment you want to emphasize.
| Stage | Work involved in a manual edit |
|---|---|
| Prepare the words | Transcribe the clip, time the captions word by word and break them into readable lines. |
| Plan the visuals | Find the claims, numbers and steps that deserve emphasis. Choose a chart, a list, a title card or another way to show each one. |
| Design and animate | Build the graphics, animate their entrances and exits, and keep the fonts, colors and cards consistent. |
| Work around the speaker | Make room for the face and captions. Mask the speaker for behind-text moments and keyframe camera pushes where they help. |
| Finish the video | Add sound cues, build an opening and a closing, render the file and review what goes to YouTube. |
TubeWizz Motion Edit takes on the production work after one upload. You still get to correct the words, adjust the look and decide what goes live. A first edit costs 2 credits. TubeWizz lists 5 free signup credits with a connected YouTube channel and 3 without one, enough to try an edit either way. See Motion Edit features and pricing.
How to edit a short video with TubeWizz
1. Record a clip with one clear payoff
Start with a vertical 9:16 talking-head video up to three minutes long. For your first edit, pick a clip with an idea viewers can understand even if they have never seen your channel. A quick tutorial, a product comparison or a specific mistake you fixed will give you a clear story to work with.
Write the first line as something the viewer would want to hear. For example, “I cut my editing time from four hours to two” gives the video a result, a before and an after. Follow it with what changed, then end with one thing the viewer can try. If the recording starts with a long greeting or a false start, use the take that gets to the point sooner. Good graphics can make a clear idea easier to understand. The recording still has to deliver the idea.
Check the frame before uploading. Leave some space around your head and shoulders, keep your face in frame and listen for words drowned out by background noise. If the footage already has captions, check how much of the screen they occupy. The more usable space the clip has, the easier it is to place graphics where they are readable.
2. Upload and choose how the edit should feel
Open Motion Edit and drop in your clip. Leave the look on Auto to let TubeWizz choose a direction, or select one of the 20 templates if you already know the look you want. A quiet editorial style can suit a tutorial with numbers and examples. A more expressive style may fit a creator story where one or two lines need a stronger visual accent. If you already have a palette in your Brand Kit, you can apply those colors to a template. Preview the Motion Edit styles.
Use Intensity to control how frequently graphics appear and Camera to set how much movement you want, including turning it off. For a clip where viewers need to read values or follow a demonstration, try less movement on the first pass. For a story built around one reveal, give that line room to stand out by keeping the surrounding moments calmer.
3. Review the words before you render
Read the transcript once for meaning, then scan for names, technical terms, numbers and units. An incorrect “15” can make a perfectly timed chart say the wrong thing. A misspelled product name can show up in both a caption and a title card. Fix those details before the render so the edit can use the corrected wording in graphics drawn from the transcript. Add recurring terms to your brand dictionary when you expect to use them again.
Pay special attention to figures that sound alike and to shorthand. If you said “four hours to two” near the start of the clip, check that the chart makes it clear which number is the baseline and which is the result. It should make sense even to someone who glances at the screen halfway through the sentence.
4. Watch the render and fix the right thing
Play the finished clip once with sound and once muted. With sound on, check that the visuals land as you make the point and that sound cues leave room for your voice. With sound off, check that the captions are readable and the main comparison or takeaway still makes sense. On a phone, pay particular attention to small text and graphics near the edges.
If you like where the graphics appear but want a calmer style, use Change look. It reuses the scene plan and changes the visual treatment without another upload. The change is free within the daily limit. If the chart emphasizes the wrong part of the story or you want a different sequence of scenes, use Re-plan & render for a new plan. That costs 2 credits and also reuses your original upload. See how style changes and replanning work.
5. Download the MP4 or send it to YouTube
Download the MP4 if you want to keep a copy or use it in another publishing workflow. To publish from TubeWizz, send the result to your connected YouTube channel, review the title and description, then choose Private, Unlisted or Public. Pick Unlisted if you want to share a review link before making the Short public. In this manual workflow, the upload starts when you choose to send it.
YouTube classifies eligible square or vertical uploads up to three minutes as Shorts. If your Short runs longer than one minute, check its audio especially carefully. YouTube says a Short over one minute with an active Content ID claim will be blocked. Read YouTube’s three-minute Shorts guidance.
How Motion Edit decides what to put on screen
A useful edit answers a question at the moment the viewer has it. How much did the number change? What are the three steps? Which word in the sentence matters? Motion Edit uses the transcript and the video frame to plan the scene around those moments. A before-and-after claim can become a chart. A sequence can become a checklist. A single word can get a brief camera push or grow into animated text.
The plan also has to work inside the frame. A graphic that reads beautifully on its own can fail if it sits over the speaker’s mouth or competes with existing captions. TubeWizz checks where the face and caption area are before it places graphics. For a deliberate behind-text moment, the speaker stays in front while the large word appears behind them. A second planning pass can remove competing accents or cut an unnecessary camera move. See the scene breakdown and behind-text demo.
A scene breakdown from one render
Below is the same 24-second clip at six moments, so you can see what the plan put on screen and when. One upload, one scene plan, one look.
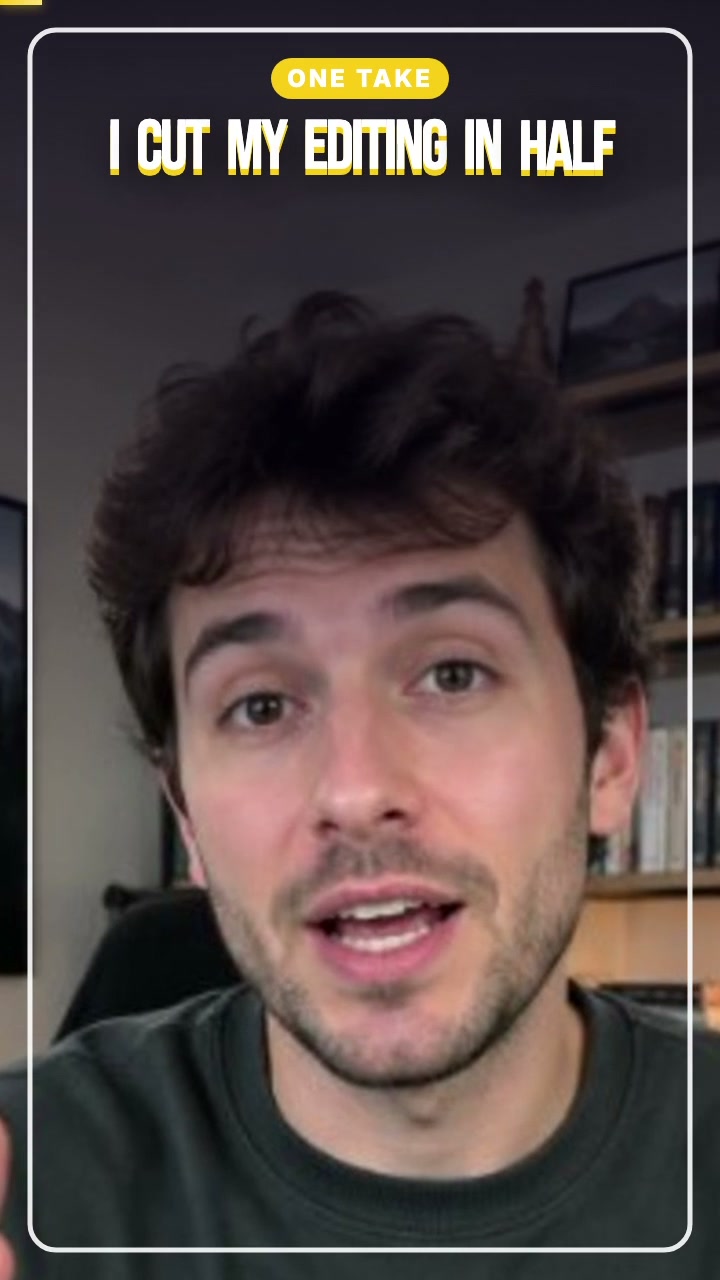
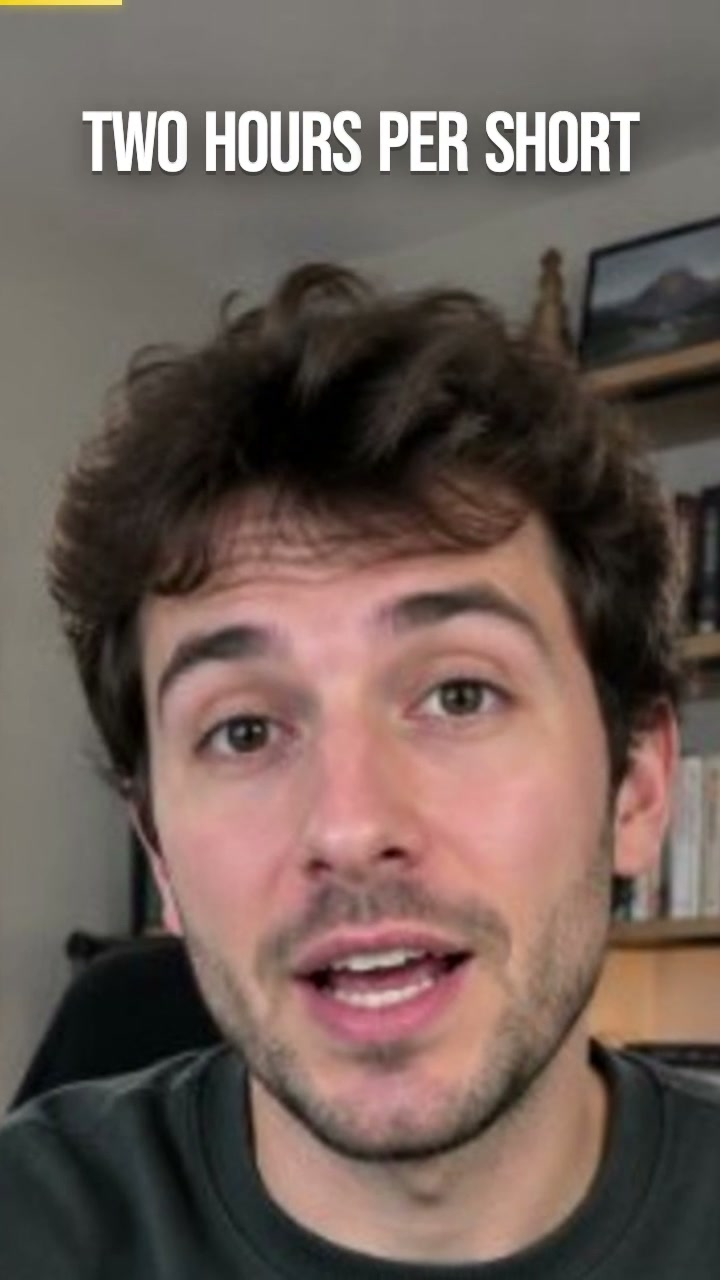
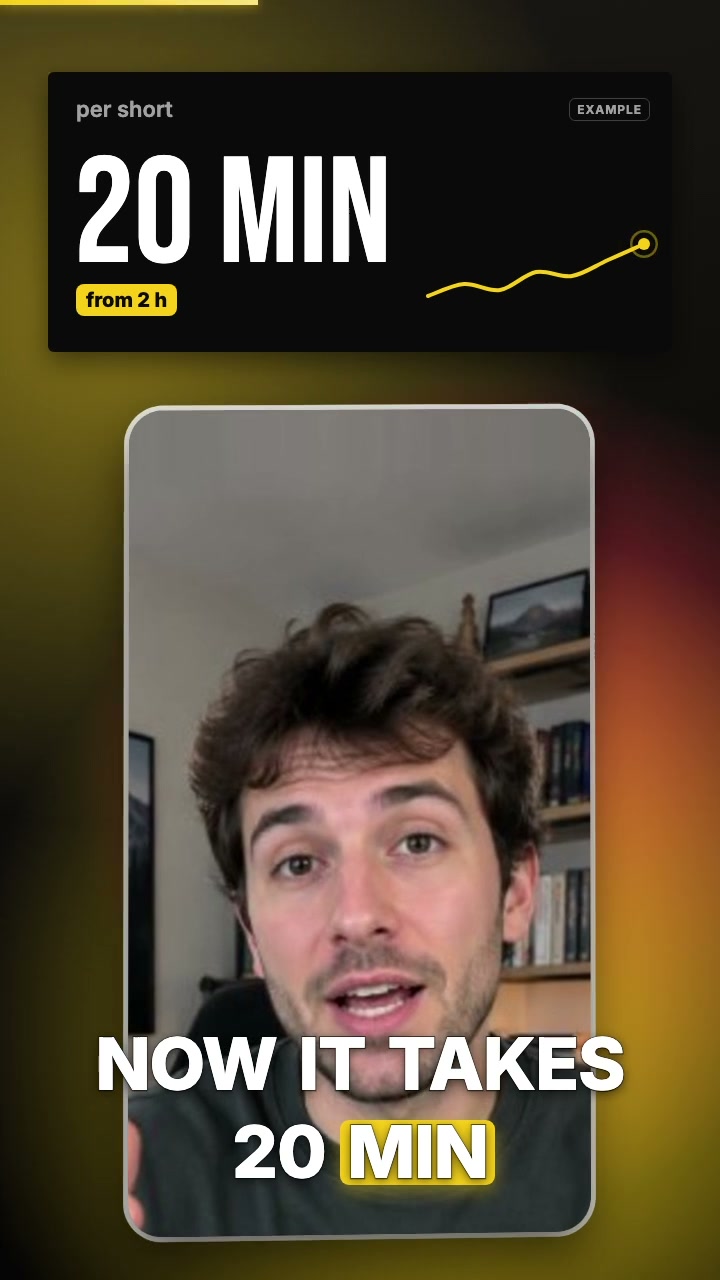
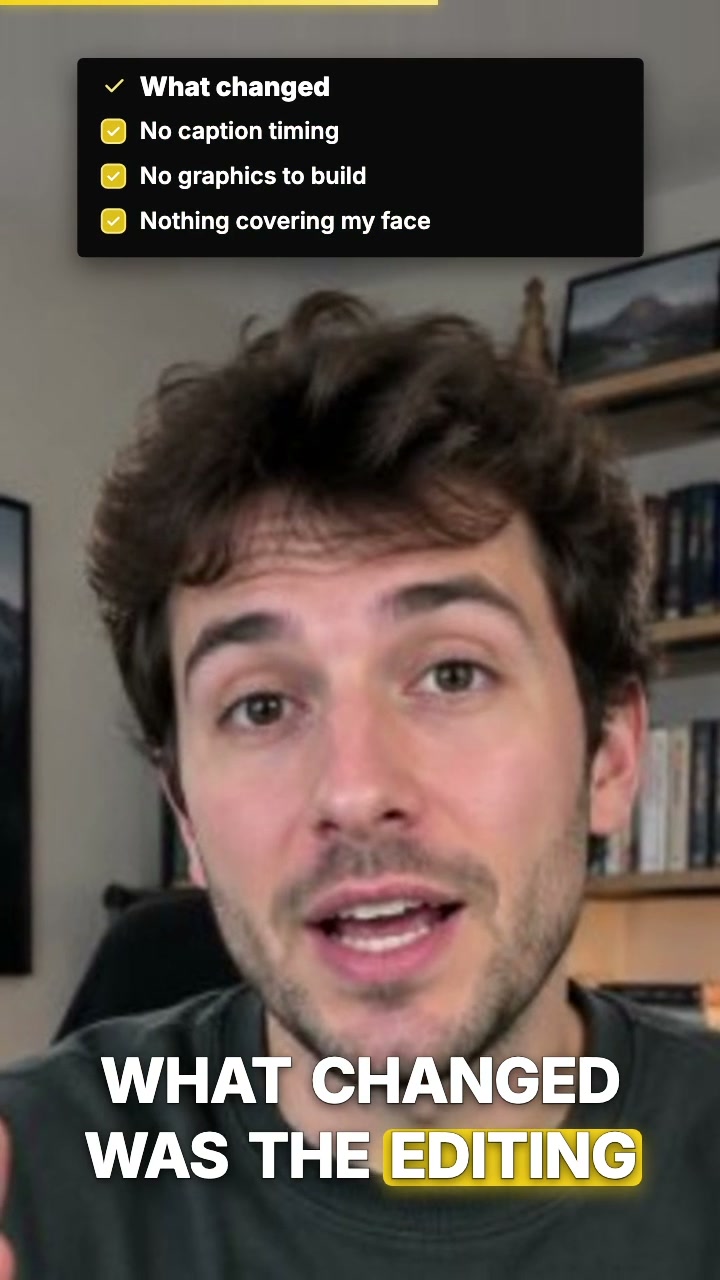
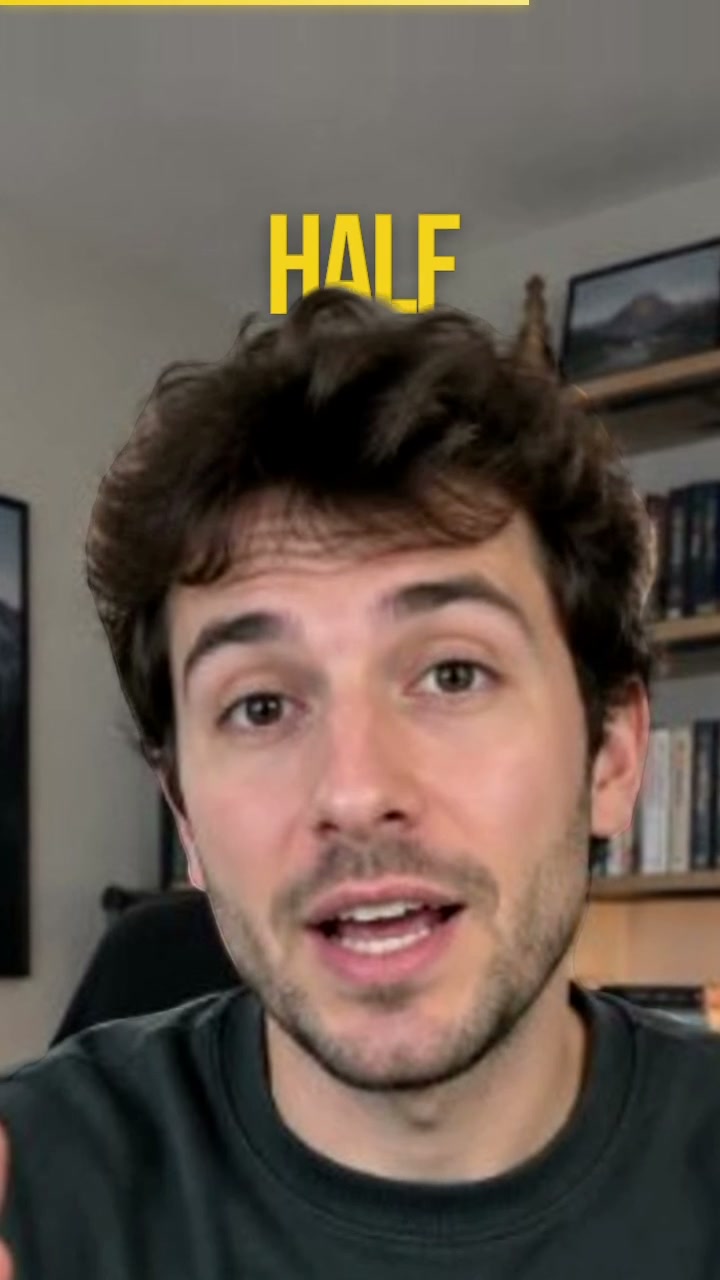
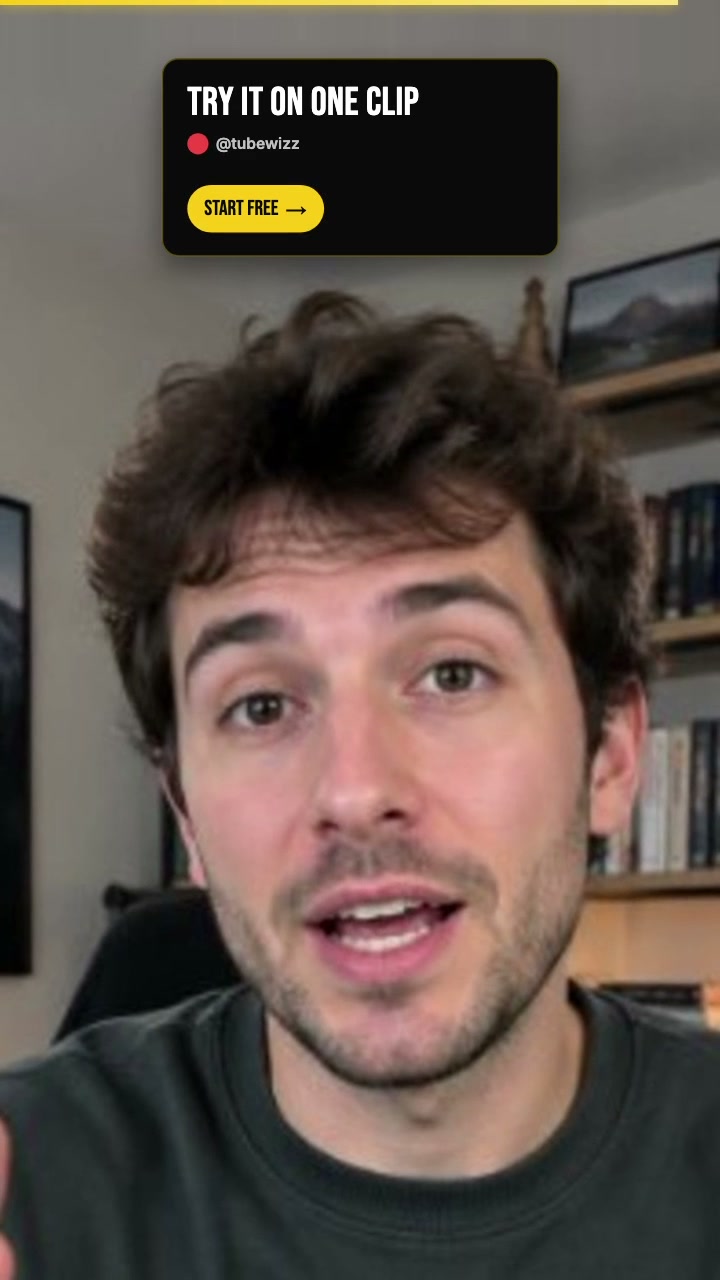
Notice what is not on screen. No graphic sits over the speaker’s face, nothing lands in the band where the captions run, and there is only one camera move in the whole stretch. Those gaps are the plan working: the frame is measured before anything is placed, and a review pass removes accents that would collide.
Choose the workflow that matches your footage
| What you have | Where to start | What you get |
|---|---|---|
| A short talking-head clip | Motion Edit | A rendered short with captions and visuals planned around the speech. |
| A podcast, interview or long YouTube video | Shorts Maker, then Motion Edit | Vertical clips you can select and enhance as a batch. |
| A clip whose captions you have already reviewed | Caption Maker, then Motion Edit | A path from approved captions into the motion graphics workflow. |
| A recurring long-form series | YouTube Automation | A rule that can turn new videos into Shorts, with review or automatic posting according to your settings. |
Start with Shorts Maker when the good moments are buried in a longer recording. Keep the clips that make sense on their own. A strong excerpt should have enough context for a new viewer and a payoff before it ends. Send the selected clips through Motion Edit together. If your priority is checking every word first, use Caption Maker as your starting point.
For a repeatable series, set up a rule in YouTube Automation . You can use approval mode while you check how the rule handles your videos, then choose automatic posting if that suits your channel. Where your rule includes Motion Edit before publication, graphics become part of the workflow you configure. The upload for a standalone Motion Edit still follows your manual decision.
If you already record three clips a week, try editing the whole batch from one recording session. Keep your colors consistent and let the visuals change with the story. A comparison might need a chart. A lesson might need a list. A personal story might need one emphasized phrase and very little else.
Check these details before you publish
- Opening. Play the first few seconds on your phone. Can you tell what the clip is about before the opening visual disappears?
- Words and numbers. Compare names, measurements, prices and dates with the recording. Check the cards as well as the captions.
- Readability. Watch once at normal speed with the sound off. Pause only if something is hard to read, then check whether it needs a clearer label or more time.
- Framing. Make sure the speaker, any product being held up and any text already in the footage remain visible at the moments they matter.
- Sound. Check that the voice is clear and that any music or effects leave space for it. Confirm that you have the rights to any audio you added.
- Publishing. Confirm the channel, title and visibility. If the Short points to a longer video, make sure a viewer can understand why it is worth watching.
Try it on the clip you keep putting off
Pick a clip where one sentence already suggests a visual. A before-and-after result is a good first test. Upload it, correct the transcript and watch what TubeWizz puts on screen when you say the numbers. That first render will show you how much of your next edit you can hand off and which choices you want to keep for yourself.
No comments yet